
Pearl Aura Bridal Nails with Micro-Bead Detail
A soft iridescent glow with a single tiny pearl at the base — a wedding manicure that photographs beautifully and never looks dated.

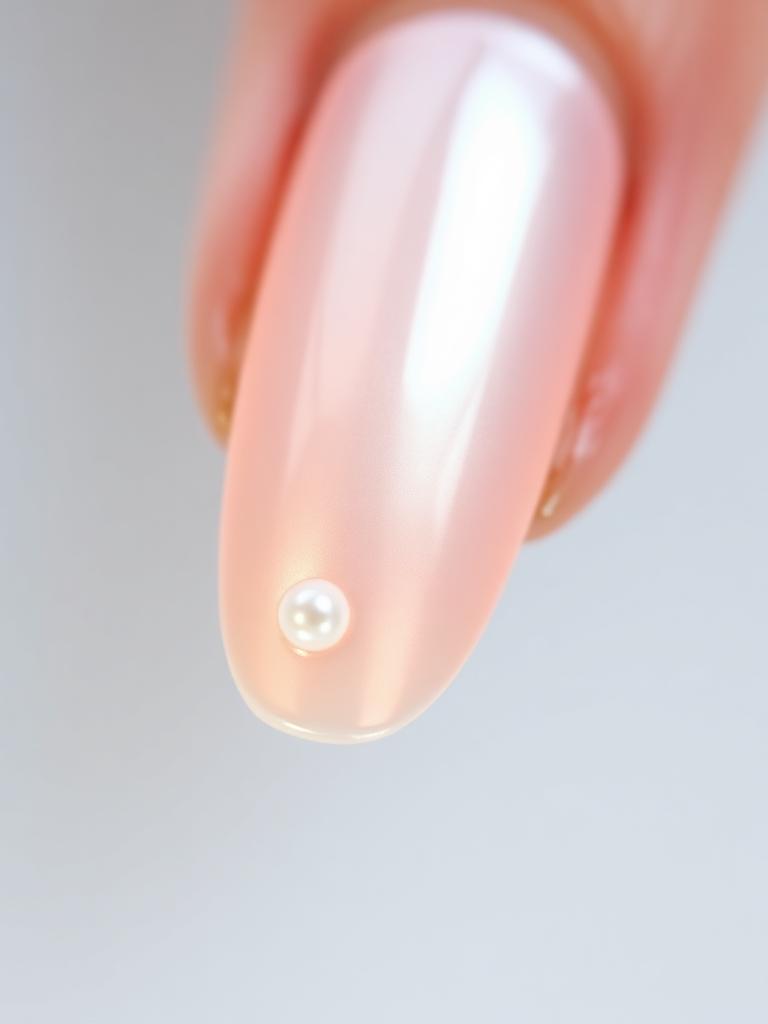
Bridal nails have one hard requirement: they have to look right in close-up photos of your hands for the rest of your life. Aura nails — a soft halo of light glowing from the centre of the nail — meet that brief because they read as skin-flattering shine rather than as a trend. Adding one micro pearl near the cuticle turns the manicure into jewellery. Below is the full timeline, including when to book, what to test, and how to keep it wearable through a long day.
Plan your trial four weeks out
Do a full test run a month before the wedding, photograph it in daylight and in warm indoor light, and wear it for a week. Skin tone, ring metal and dress fabric all change how a pearl finish reads.
Choosing your aura colour
Warm skin tones glow with peach and champagne auras; cool tones look best with pearl and soft lilac. Keep the halo two shades away from the base — anything more contrasted stops looking like light and starts looking like a dot.
What You'll Need
- ✓Sheer nude or ballet-pink gel base colour
- ✓Pearl or opal chrome powder
- ✓Small dense sponge applicator
- ✓Flat-back micro pearls (1 mm)
- ✓Gel adhesive or thick top coat
- ✓No-wipe glossy top coat
Step-by-Step
- 01
Build a flawless nude base
Two thin coats of sheer nude gel, curing between each. The aura will amplify anything uneven underneath, so take your time here.
- 02
Sponge the halo
Load a tiny amount of pearl chrome on the sponge, tap off the excess, then press it in a soft circle at the centre of the nail. Build the glow in two or three light passes — one heavy tap makes a hard-edged blob.
- 03
Diffuse the edges
With a clean, dry brush, feather outward from the halo until it fades into the base. The goal is no visible boundary anywhere.
- 04
Set the pearl
Place a dot of gel adhesive about 2 mm from the cuticle on the ring finger only, press the micro pearl in with a wax pencil, and cure for 60 seconds. One accent nail per hand keeps it elegant.
- 05
Encapsulate and cure
Cover everything except the pearl with no-wipe gloss, cap the edges, and cure. Add a second gloss layer around the pearl to lock it down so it survives the day.
"Great nails aren't about perfection — they're about intention. Slow, thin coats always beat a rushed thick one."
Pro Tips
Book your manicure two to three days before the wedding — freshly done nails have the most gloss, but you also want a buffer to fix anything.
Take the pearl off the dominant hand's ring finger if you will be signing documents.
Pack a mini gloss top coat in your bridal kit; one swipe restores shine after the ceremony.
Frequently Asked
Will the micro pearl catch on my dress?+
A 1 mm flat-back pearl sealed under gel sits almost flush and is safe with most fabrics. Skip it entirely if your dress has delicate lace or tulle you will be handling constantly.
How long does an aura manicure last?+
In gel, two to three weeks. The chrome layer is protected under top coat, so it stays glowing until grow-out becomes visible.
Emma Carter
Certified nail technician and manicure educator. Tests every technique in-studio before it's published.


You Might Also Love
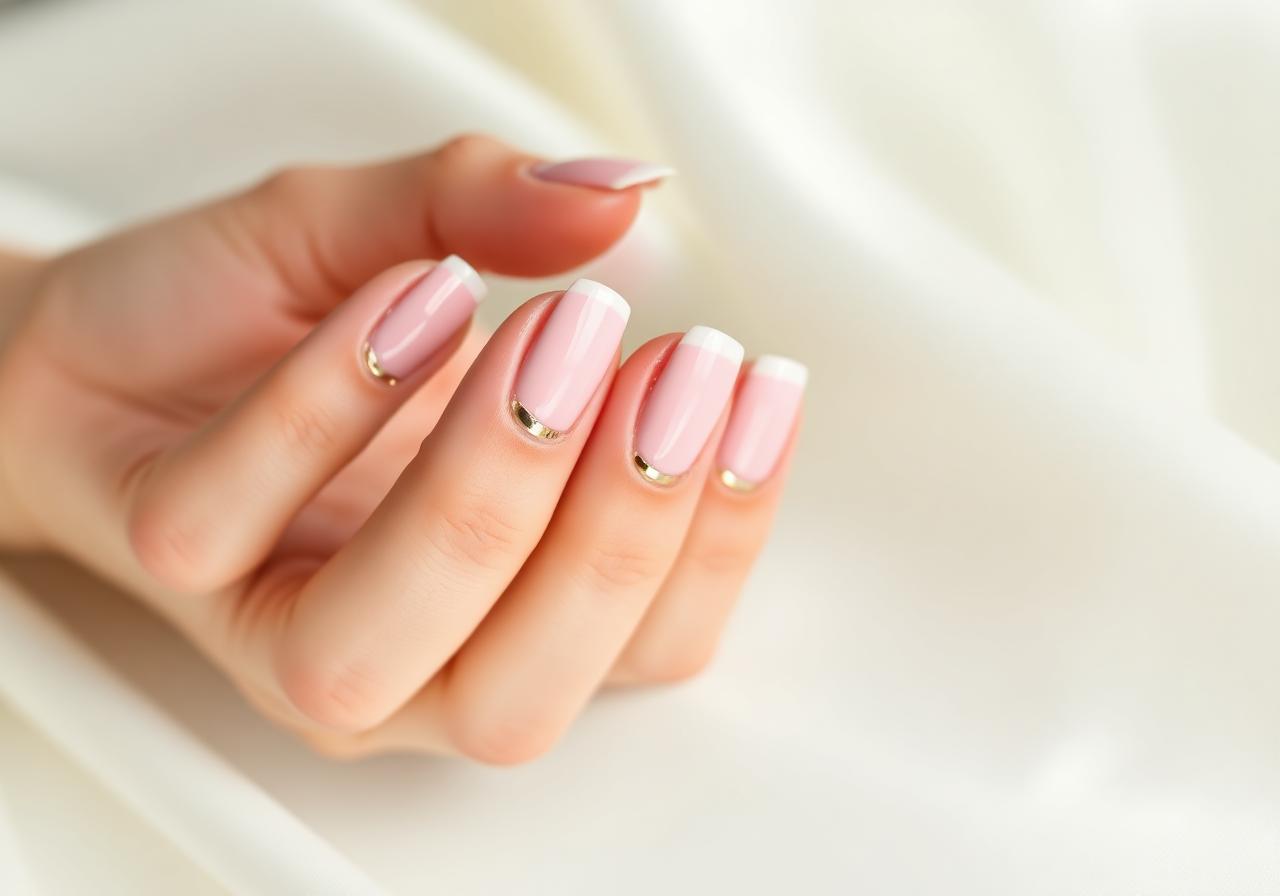
Soft Pink French Tips with Gold Foil Accent
A modern twist on the classic French manicure — sheer pink base, ivory tips, and a whisper of gold foil for everyday elegance.
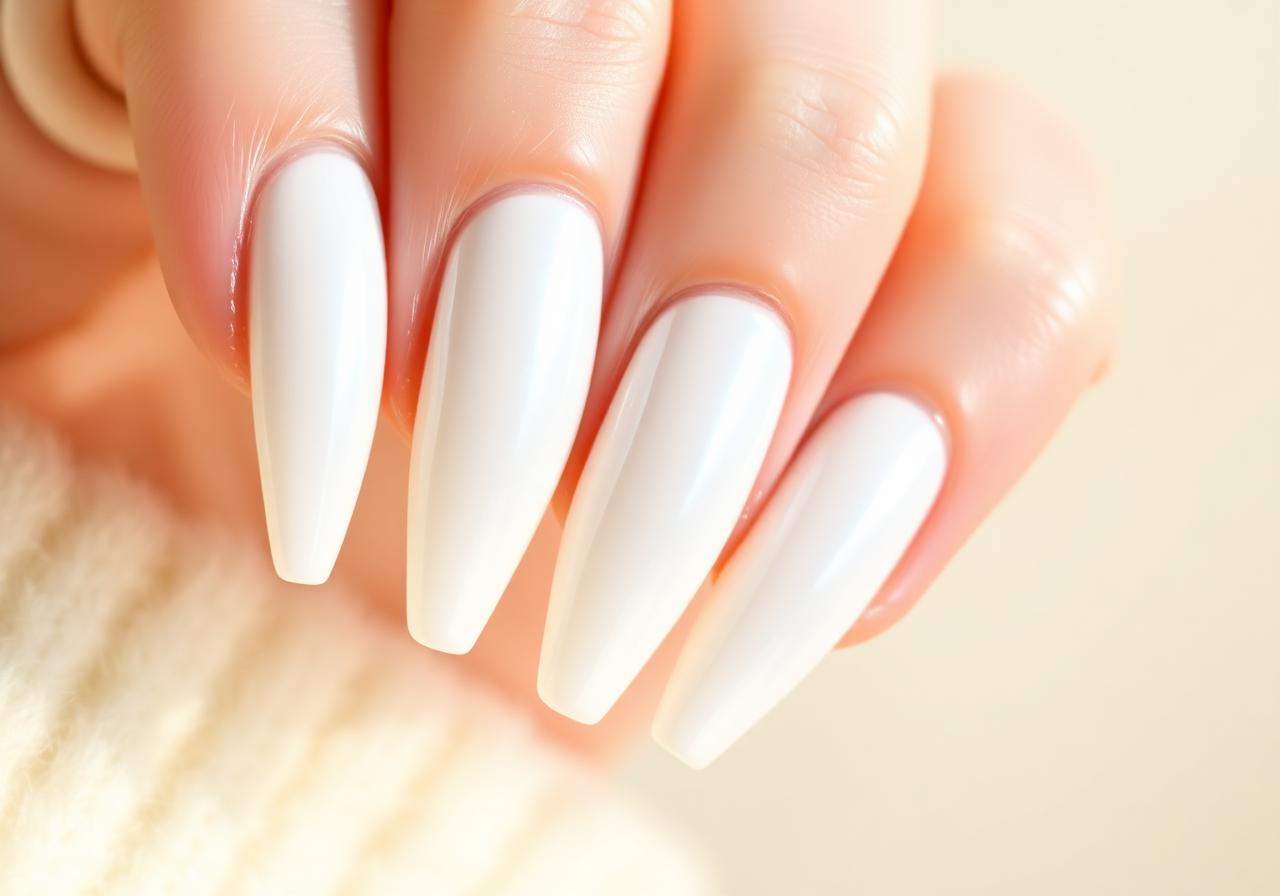
Milky White Glazed Donut Nails at Home
The viral pearl-finish manicure everyone is asking their nail tech for — and how to recreate it in under 30 minutes.
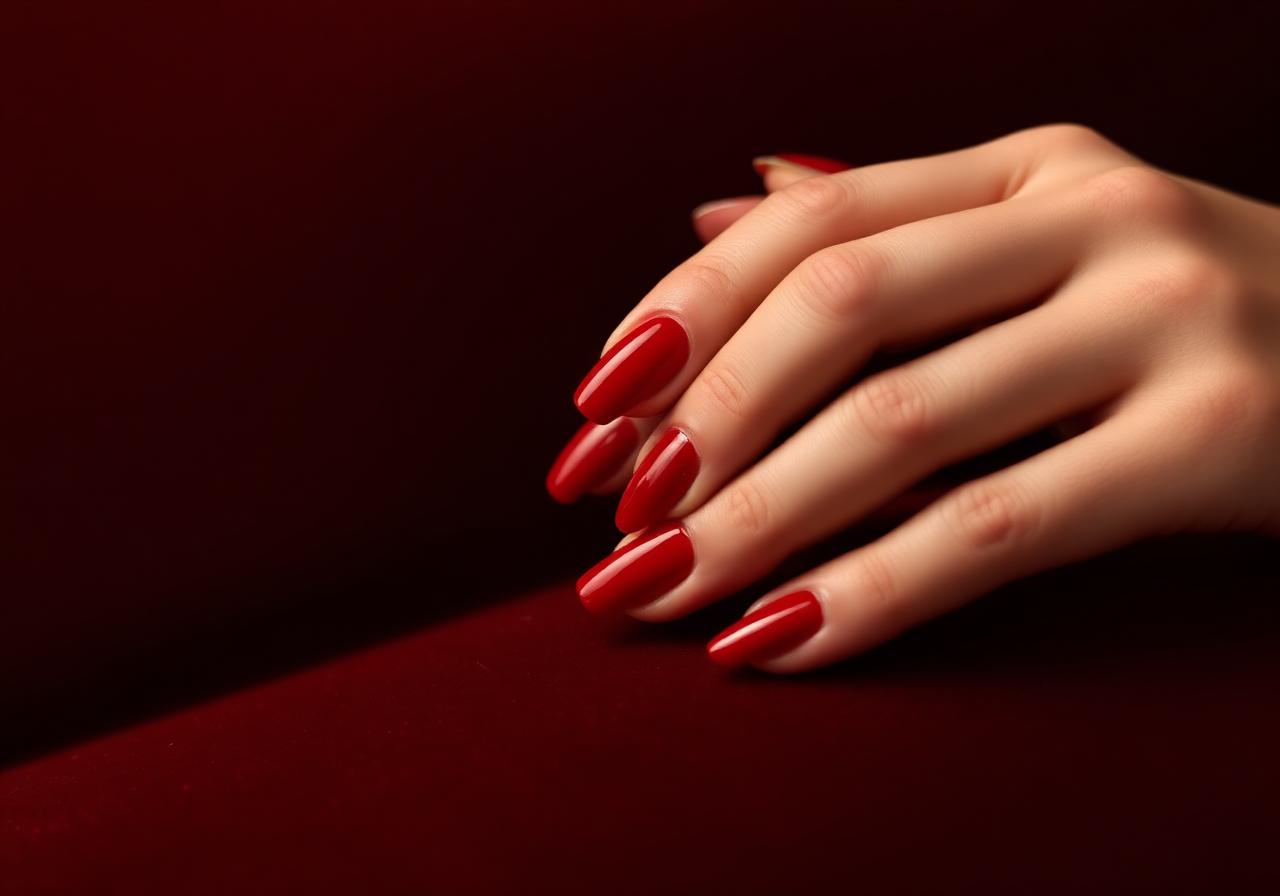
Cherry Red Short Nails: The Classic Look for Every Season
Short nails deserve statement color too. This step-by-step guide gets you a salon-perfect cherry red at home.